
British Baking Notes and Traditional Techniques
The tradition of baking in the UK is a rich narrative of regional pride and technical evolution. From the hearth-baked breads of ancient times to the refined sponges of the Victorian era, the British baker has always sought to balance substance with flavor.
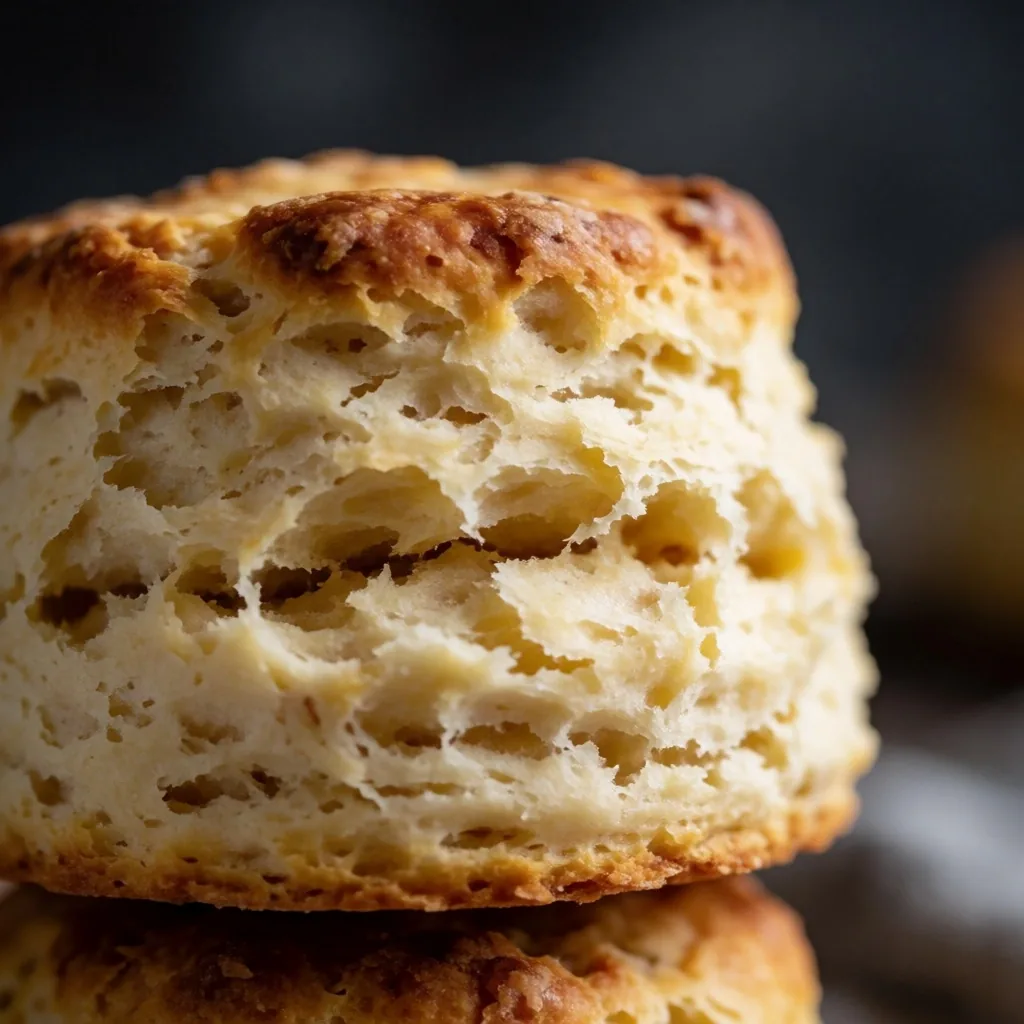
The Science of the British Scone
The scone is perhaps the most iconic British bake, yet it requires a delicate touch to master. Success depends on the coldness of the fats and the minimal handling of the dough to prevent gluten development.
When cold butter hits a hot oven, the moisture inside it turns to steam, creating pockets that lift the dough. This reaction, combined with the chemical balance between leavening agents and buttermilk, produces the signature split in a well-risen scone — a hallmark of quality in any traditional tea room.
The dough should feel barely held together, slightly sticky, and still cool to the touch. Overwork it and the gluten tightens, producing something closer to a rock cake than a scone. The ideal scone breaks open with gentle pressure rather than needing a knife, and the interior is soft enough to absorb a generous spoonful of jam and clotted cream.
For consistency, weigh everything cold — the flour, the bowl, even the liquid. A hot kitchen is the enemy of a good scone, and many bakers rest their cut dough in the freezer for ten minutes before baking to restore that crucial chill.
Regional Breads and Yeast Cookery
Before the advent of modern commercial loaves, every region in Britain had its own distinctive bread — the lifeblood of the community.
From the soft, floury baps of the North to the dense, crusty cottage loaves of the South, regional British breads tell a story of local grain, water, and climate. A bap from a Scottish bakery is gently handled and lightly baked, yielding a soft roll meant for butter and jam. A cottage loaf from the Home Counties is baked dark and firm, with a dense crumb that holds up to cheese and pickle.
The defining character comes from slow fermentation. Traditional starters, kept alive across days or weeks, develop flavour gradually — the yeast produces not only carbon dioxide for lift but also organic acids that give the crumb its characteristic chew and deep grain flavour. A loaf rushed through a fast prove will rise, but it will taste of nothing.
Understanding your kitchen temperature is essential. A dough that takes four hours to prove on a cold January morning might be ready in ninety minutes during a warm July afternoon. The dough tells you when it is ready — doubled in volume, pillowy to the touch, and holding an indent when pressed gently with a fingertip.
Victorian Sponge Cakes and Refinement
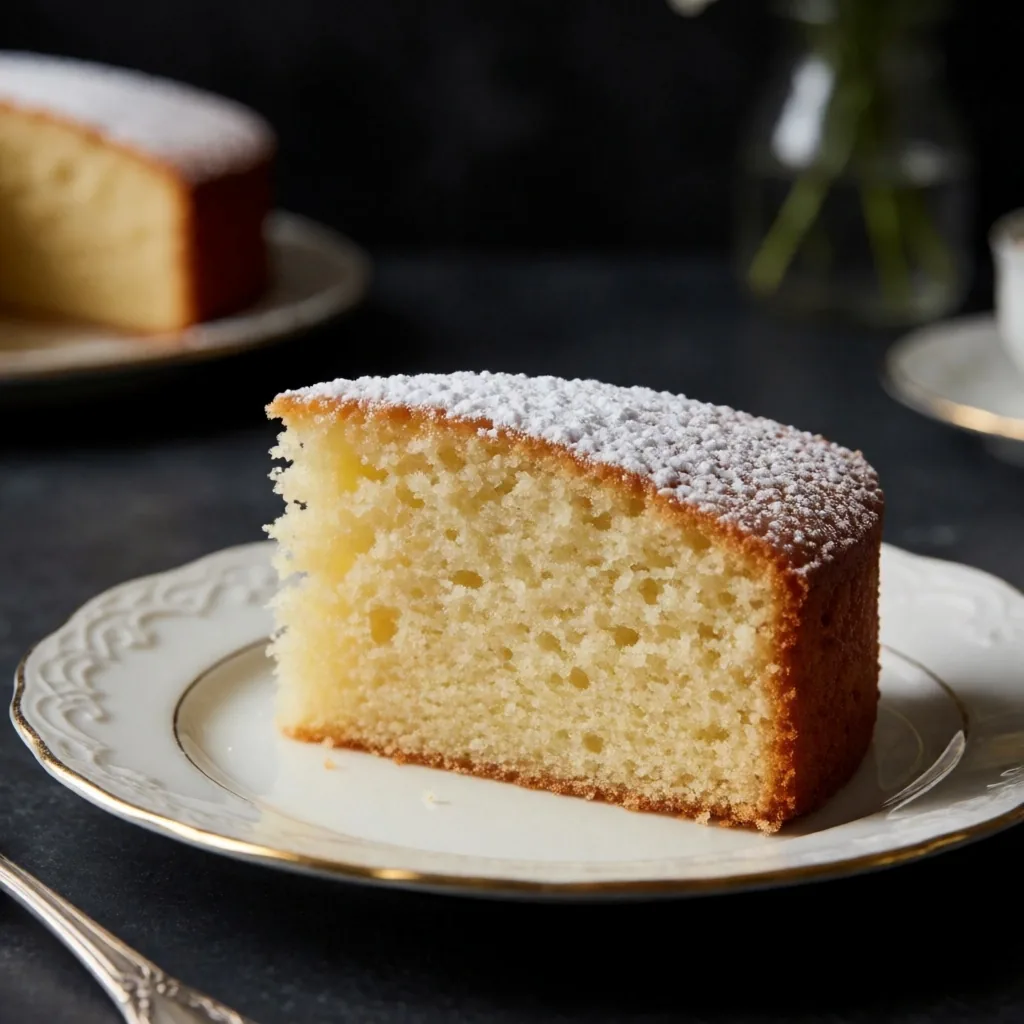
The 19th century saw a revolution in baking with the introduction of baking powder and finer milled flours. This era gave us the Victoria Sponge — a cake defined by its even crumb and simple elegance, named for the queen who is said to have enjoyed a slice each afternoon.
The fundamental technique is the creaming method: beating butter and sugar together until pale and airy, incorporating thousands of tiny air pockets that the baking powder will later expand in the oven. The texture of the finished cake depends almost entirely on this step. Under-cream and the crumb is dense and heavy; over-cream and the structure weakens, producing a cake that sinks in the middle.
The butter and eggs should be at the same cool-room temperature before you begin. Cold eggs into warm butter will curdle the mixture, separating the fa from the liquid and ruining the lift. A proper Victoria Sponge is sandwiched with raspberry jam and a whisper of cream — nothing more, nothing less.
The Art of Shortcrust and Flaky Pastry
A great deal of British baking revolves around the savory or sweet pie. Understanding the ratio of flour to fa is crucial for achieving a crust that is both sturdy enough to hold a filling and tender enough to melt in the mouth.
Sturdy and tender
The standard ratio is two parts flour to one part fa. The rubbing-in method coats the flour particles with butter, shortening the gluten strands and producing a crumbly, melt-in-the-mouth texture. Rest the pastry in a cool environment for at least thirty minutes before rolling to prevent shrinkage during baking.
Layered and light
Flaky pastry uses a higher proportion of fa, folded and rolled to create distinct layers. The butter is left in visible pieces rather than fully rubbed in. As the pastry bakes, the water in the butter turns to steam and separates the layers, producing a crisp, raised crust suited to meat pies and sausage rolls.
Resting is the step most home bakers skip. Pastry that goes straight from mixing to rolling will shrink in the oven as the gluten relaxes under heat. A short rest in the fridge gives the gluten time to settle and the fa time to firm up, producing a crust that holds its shape and bakes evenly.
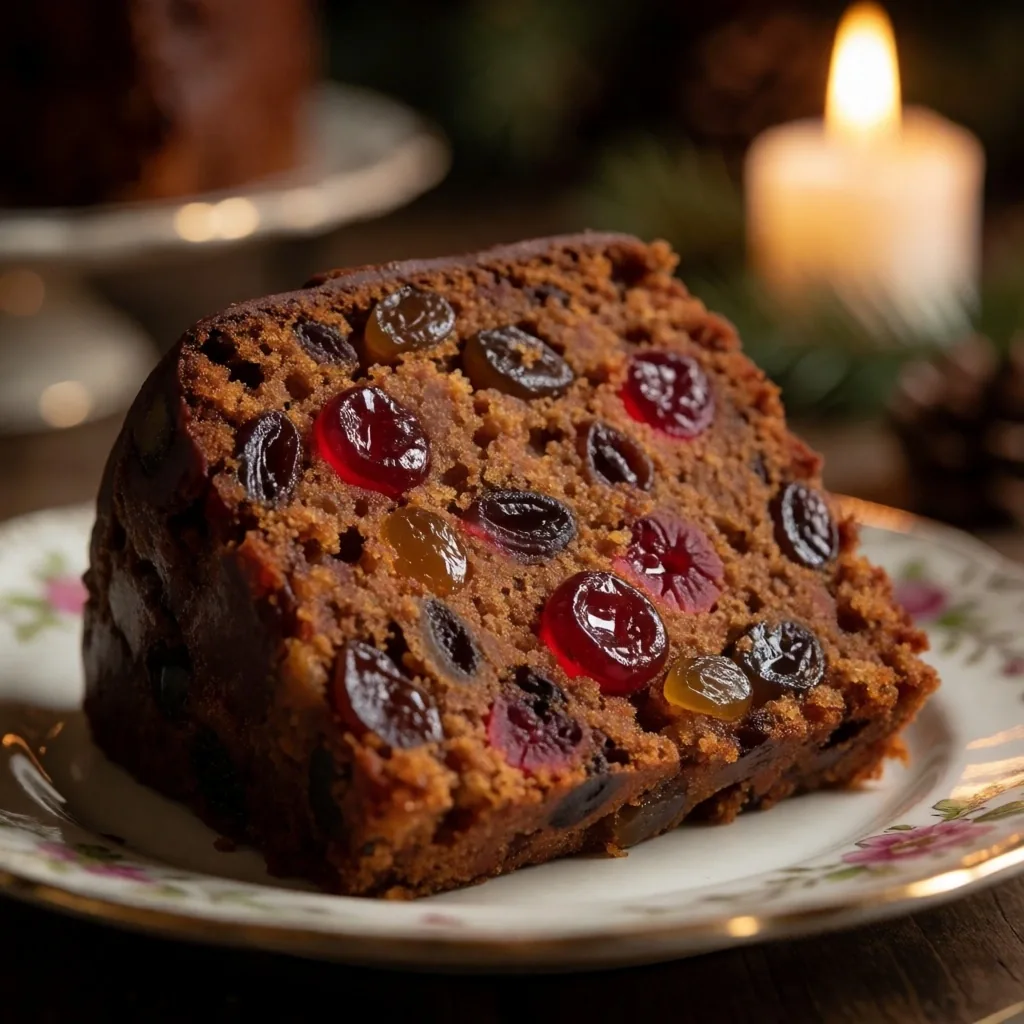
Fruitcakes and Festive Traditions
Rich, dark fruitcakes are a staple of British celebrations, from weddings to Christmas. These cakes require long, slow baking at low temperatures to caramelize the sugars without burning the fruit — a process that can take three or four hours for a deep round tin.
The tradition of feeding fruitcakes with spirits over several weeks is a preservation method as much as a flavour technique. A tablespoon of brandy or sherry, brushed over the surface every few days, keeps the crumb moist and allows the flavours to mature. A well-fed Christmas cake baked in November will be at its peak by late December — complex, dense, and nothing like the dry specimens that give fruitcake its mixed reputation.
The soaked fruit should be prepared a day ahead. Dried currants, sultanas, and raisins absorb liquid and plump up overnight, which prevents them from drawing moisture out of the cake during baking. The kitchen will smell of spice and alcohol long before the oven is turned on.
Traybakes and Everyday Comforts
Not all baking needs to be an elaborate affair. The British tradition of the traybake — from flapjacks to brownies and lemon drizzles — provides a quick way to feed a family or a gathering. These simple recipes rely on the quality of the butter and the timing of the oven to produce consistent, reliable treats for the daily biscuit tin.
A flapjack is only as good as the butter and golden syrup that bind it. Cook the sugar and syrup mixture just long enough to dissolve the grains, then fold in the oats and press firmly into the tin. Under-bake for a chewy bar, over-bake for a crunchy one. Most traybakes are done when the edges are golden and the centre still has a slight wobble — they firm up as they cool.
Custards, Creams, and Fillings
Baking in Britain often extends beyond the oven to include the stovetop preparation of fillings. A silky pastry cream or a sharp lemon curd can transform a simple tart into a professional-grade dessert.
The key technique is tempering: warming the eggs slowly by whisking in a little hot liquid before adding the rest. This prevents the eggs from scrambling and produces a smooth, thick custard. Stir constantly with a wooden spoon, scraping the base of the pan, and watch for the moment the custard coats the back of the spoon — a clear line drawn through it should hold its shape. Remove from the heat immediately, as the eggs will continue to cook from the residual heat of the pan.
Homemade custard is thinner than the custard powder variety, but the flavour of real egg yolks and vanilla is incomparable. It belongs poured warm over a steamed pudding or folded with whipped cream for a trifle filling.
Equipment and the Baker's Pantry
While modern gadgets are plentiful, traditional British baking relies on a few high-quality tools: a heavy rolling pin, accurate scales, and reliable tinware. Understanding your oven's hot spots and why weighing ingredients is always superior to volume measurements matters more than any single recipe.
What to weigh
- —Flour, sugar, and butter in grams for repeatable results
- —Liquids in millilitres, not approximate cups
- —Eggs by weight if a recipe specifies, as sizes vary
What to check
- —Oven temperature with a separate thermometer
- —Hot spots by baking a tray of plain scones and noting colour
- —Tin bases for warping that causes uneven browning
What to keep handy
- —A heavy wooden rolling pin with a smooth surface
- —Digital scales that read in single grams
- —Parchment paper and a sturdy baking sheet
Every oven has its own character. Some run hot at the back, others brown more on the top shelf. A few simple tests — a tray of plain scones rotated halfway through, a thermometer placed in the centre — will tell you more than any instruction manual. Once you know your oven, you can adjust baking times and rack positions with confidence rather than guesswork.
Questions from the Baking Notes
Why do my scones not rise properly? +
The most common cause is warm dough. The butter must be cold when it enters the oven so the steam can create lift before the crust sets. Try resting your cut scones in the freezer for ten minutes before baking, and make sure your oven is fully up to temperature. Twisting the cutter when cutting scones also seals the edges and prevents an even rise — press straight down and lift cleanly.
Can I substitute plain flour for self-raising in a sponge?
Yes, by adding baking powder. A reliable guide is two level teaspoons of baking powder per 150 grams of plain flour, sifted together three times to distribute evenly. The texture may differ slightly — self-raising flour is milled to a finer grade — but the result will be close enough for everyday baking. For a competition-worthy Victoria Sponge, use the flour the recipe specifies.
How long should I rest pastry before rolling?
A minimum of thirty minutes in the fridge, wrapped in film to prevent a skin forming. For flaky or puff pastry, rest between each fold as well. If the pastry has been chilled for more than an hour, let it sit at room temperature for five to ten minutes before rolling — cold pastry cracks when forced, and those cracks will show in the baked crust.
Why does my custard go lumpy?
The heat was too high or the hot liquid was added too quickly. Tempering is the safeguard: pour a small amount of warm milk into the egg mixture while whisking constantly, then return everything to the pan and cook over low heat. If lumps do form, pass the custard through a fine sieve before serving — it will rescue the texture without affecting the flavour.
More from the British Home Kitchen
Classic Recipes
Traditional British recipes with step-by-step guidance for everyday home meals and Sunday dinners.
Read the recipes → Kitchen WisdomSimple Kitchen Tips
Practical tips and techniques that make everyday cooking more reliable, from knife care to gravy making.
Browse the tips → HistoryCulinary History Blog
Notes on the origins of British dishes, regional variations, and how everyday meals developed over centuries.
Explore the history →